How-to: managing user registration and login using AWS Cognito

No developer likes to repeat itself. So after years of developing applications, I got tired of building user authentication / registration. Especially integrating OAuth flows can be a lot of work with little to no ‘fun’. That’s why I started to explore some “as a service” solutions and found AWS Cognito. It’s description:
“Amazon Cognito makes it easy for you to have users sign up and sign in to your apps, federate identities from social identity providers, secure access to AWS resources and synchronize data across multiple devices, platforms, and applications.”
This is exactly what I needed or at least the sign-in /-up part. So are you in need of a user management solution that can handle millions of users, integrate social login and do this almost effortlessly? Looking for an easy guide to get you started? Follow along!
Disclaimer: This tutorial will be based on a simple authentication flow that will return a JSON Web Token (JWT) for a single page web app. However, it should provide some insights into the concepts AWS Cognito and let you expand on it.
Step 1: Create a user pool
For this example, we’ll be using our user pool to create a collection of users visiting our store. The defaults will be just fine. We might look into some additional options in a later series.

Step 2: Create & configure an app client
Our app client will be our means of interacting with the user pool. Filling in a name and clicking the “Create app client” button will be enough for now.

After creation take note of the app client id. We’re going to need it at a later stage to compose the url to access our sign-in /-up pages.
Next up there are a few settings we should provide by clicking the “App client settings” located on the left:

For the simplest of cases (generating a JSON Web Token), fill in the following:
- Identity Providers: enable at least the Cognito User Pool
- Callback URL(s): a list of allowed callback url’s to send your users to after logging in and out of the application, these can be https://localhost/ for testing purposes. We’ll be using them later on, so note them.
- OAuth 2.0 Flows: select Implicit grant
- OAuth scopes: select at least email and openid
Step 3: Choose a domain name
Our final step is choosing a domain name to host our sign in / sign up flow. You can choose any domain you want. But again, take note of it.

Step 4: Gluing it all together
In the previous steps we’ve set up a user pool, an app client and a domain to host sign-in / sign-up. Now it’s time to combine it all.
Your login url:
https://{domain}.auth.{region}.amazoncognito.com/login?response_type=token&client_id={app_client_id}&redirect_uri={callback_url}

Your signup url:
https://{domain}.auth.{region}.amazoncognito.com/signup?response_type=token&client_id={app_client_id}&redirect_uri={callback_url}
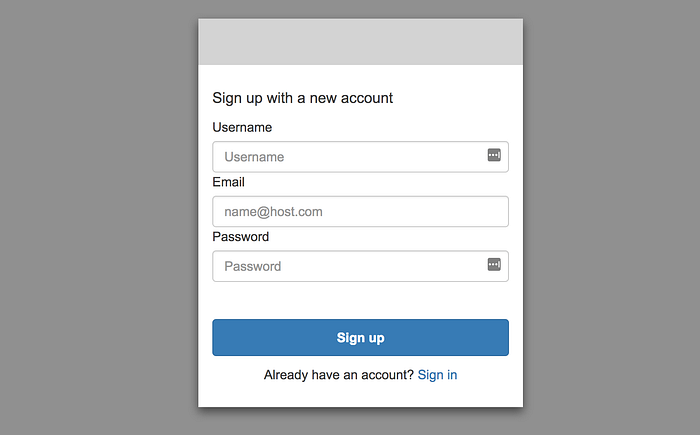
Step 5: signup, login, evaluate
After signing up for your own user pool, you’ll be asked to confirm your email-address. This of course can be bypassed, but that’s a topic for another day.
Logging in will redirect you to {callback_url}/#id_token={jwt_token}. Now it’s up to your app to safely store the token and start using it for more exciting things.
Hi, my name is Eelke van den Bos, developer @ Moddix and Co-founder @ Van den Bos & Fortuyn. For a living I do serverless, blockchain and a little bouldering.
Thank you for reading. If you liked my story, give it a clap! If you think I missed something, hit me up in the comments.
